Saturday 19th June
Our local beekeeping association (Waveney Beekeepers Group - there's a link to their website on the right -->) was hosting a demonstration of extracting honey today. Being a bit unenthusiastic about the whole honey harvesting process, I have missed this demonstration for the last two years running since I started. However, I don't think there's the slightest chance we can complete this year without going through a dreaded messy honey-extraction! I closed the shop mid-afternoon (many apologies again to the citizens of Bungay, but my bees need me!) and went along.
The demonstration showed honey being harvested in great quantity, with a leaf-blower to clear the bees from many supers at a time, a huge motor-powered honey-extraction device and a giant rapid-melting tray. This was honey being harvested on a large scale but it was clear that all this technology was only necessary because of the speed required to process all this honey.
I was surprised by how uncomplicated it could actually be - I'd been expecting to come away with a whole list of more specialist equipment to buy, but I was reliably assured that it was possible to extract honey (on a small scale) quite easily without a mechanical extractor or any special equipment at all, just what we already have in the kitchen [NB - so long as it is not to be sold]
I came home and we agreed to try to extract the honey from just two frames straight away, just to see if this is actually possible. There's plenty of honey out there on the hives now and, with Father's Day tomorrow, what better gift for the two grandads in the family than a jar of 'home-grown' honey each! (Especially as they have put in hours of babysitting while we attend the bees)

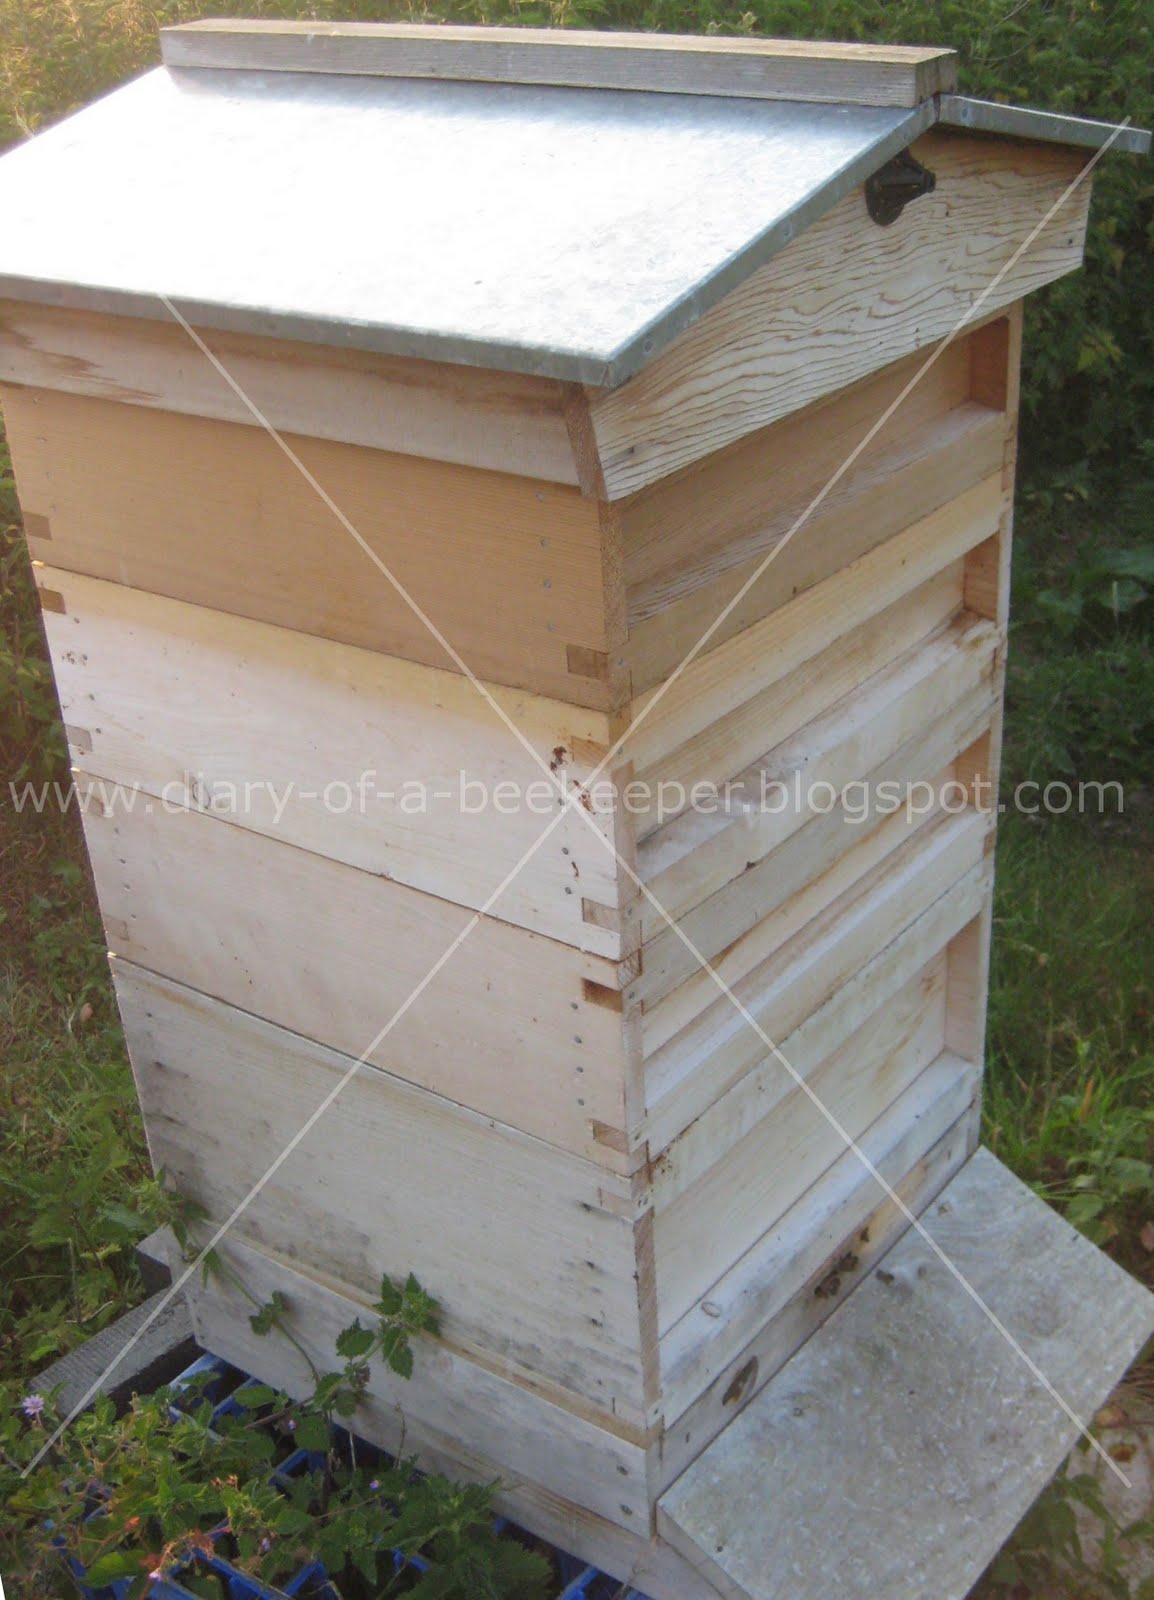
I chose to remove them from Bea's colony - this is the one with the greatest quantity of stores at the moment - I guess that there's about 30lb of surplus honey sitting here right now and there could easily be much more than that by the beginning of August, when we'll be ceasing any harvesting.

This is one of the frames I took out - there were only a handful of bees on it and when I brushed them off they soon lost interest in it. It's a gloomy, gusty day and there were hardly any bees flying - those I brushed off soon disappeared back inside.

With the lid back on the hive, and these two full frames replaced with empty ones, not one single bee hung around to bother me, so I just took them straight indoors.

We got out all the equipment ready - luckily I always have plenty of muslin squares left over from my gigantic marmalade cook-up in February. We had a few empty honey jars (there can't be more than 8lb in these two frames, probably less than 7lb), a sharp knife, a good-sized pyrex bowl, and a regular kitchen seive. I also had to borrow the communal giant preserving pan from next door, so it wasn't technically just equipment we already had in our own kitchen.

The first step is to remove all the comb from the wooden frames by cutting it out over the bowl.

It was easiest to do this is in sections, as the weight of the honey here dropping out can make quite a mess.

The knife sliced thorough the warm comb really easily, no need to heat the knife in warm water even.

With the two frames emptied of all their contents we tried to scrape every last drip from the frames into the bowl.

The huge pan was filled with heated water, then the dish was suspended in it. It's very important not to heat the comb directly because natural wax has a specific 'flashpoint' - if a certain temperature is reached (I forget the exact temp, but it's higher than boiling water) it would just instantly combust - along with all our eyebrows, presumably!

While I attended to the melting, the kids spent a happy few minutes picking over the 'bones' of the empty frames, with sticky fingers and spoons!

I put a plate over the pyrex bowl to keep the heat in and sliced up the comb into small pieces as it softened.

After a few minutes it had all become very soft and easily stirred.

Before long practically every last bit had completely melted, but the wax was quickly solidifying on the surface.

I removed the bowl from the pan and the top surface set very quickly as the air temperature cooled the wax - wax is less dense than honey (as is any dross in it - lumps of pollen, bee legs, etc) so that all floats to the surface, then sets solid. We left it like this for a while for the wax to solidify, then we could continue.

With the wax on the surface cool now, it would be simple to separate from the honey...

... and it just lifted off!

As there was not much wax (surprisingly little, actually), it all broke up as I lifted it off. I removed every bit and placed it with the empty frames for the bees to clean up later.

I returned the honey to the warm water to make it as runny as possible - it still needs to be filtered and it'll be quicker the more runny it is.

I spooned it into the seive, containing two squares of muslin on top of each other, and we funnelled it directly into the empty (and recently sterilised) honey jars.

I'm not much of a honey expert, but it looked just perfect as it poured in.

As soon as one jar was filled up to the 1lb line, we switched to the next one.

Before long. with one of us holding the seive over the funnel and the other refilling it from the bowl, the whole process was almost over - in the end we had about 6 and a half pounds of honey from the two frames (the last few dribbles in the large jar took ages to finish).

We selected two as gifts for the grandparents (with our own home-made labels, of course!), leaving us with a whole 4 and a half pounds of honey - so exciting and so much easier than we were expecting!
[NB - in case anyone reading this is worried, I am fully aware that these labels shown are legally not suitable for sale. Besides, honey which has been artificially heated like this should only be sold as 'overheated' under the title of 'bakers honey'. It is useable and safe but the heating process has altered it and it would normally now only be used for cooking purposes. Therefore this is not a suitable process for commercial honey production, even on a small scale, but is a safe way of extracting a small quantity for personal use, when in a pinch!]


 10:00 pm There was no sign of movement from the outside at all - I came out about an hour earlier and surprisingly some bees were still flying then.
 I stuffed a small chunk of foam padding into the entrance hole.
 My proper hive strap is too large to surround this small nuc. I should find a more professional-looking solution for another time, but for now I just secured it tight with packing tape, wound round a few times.
 It's not a pretty solution, but it makes sure that nothing could accidentally come loose tomorrow.